> ## Documentation Index
> Fetch the complete documentation index at: https://docs.champ.ai/llms.txt
> Use this file to discover all available pages before exploring further.
# Connect a ticketing platform
> Authorize Zendesk, Intercom, Jira and other ticketing systems so workflows can read and act on your tickets
Connecting a ticketing platform authorizes Champ to call that system's API on your behalf. Once connected you can:
* **Call the platform from a workflow** — an API node picks the connection and Champ attaches the credentials for you.
* **Sync tickets into cases** — a scheduled poll turns tickets into [cases](/integrations/cases-api) that run a case
workflow.
* **See usage** — every call a workflow makes through the connection is logged on the connection's detail page.
Champ manages the OAuth handshake and refresh, so you never paste an API key or store a token yourself.
## Supported platforms
| Platform | Ticket automation | Cases sync |
| -------------- | :---------------: | :--------: |
| **Zendesk** | ✓ | ✓ |
| **Intercom** | ✓ | ✓ |
| **Jira** | ✓ | ✓ |
| **Salesforce** | ✓ | ✓ |
| **HubSpot** | ✓ | ✓ |
| **Kustomer** | ✓ | ✓ |
| **ServiceNow** | ✓ | — |
Need something that isn't listed? Any HTTP API can be wired up as a [REST API integration](/integrations/rest-api).
## Step 1 — Connect the platform
1. Navigate to [**Integrate → Integrations**](https://dash.champ.ai/app/integrations) in the sidebar.
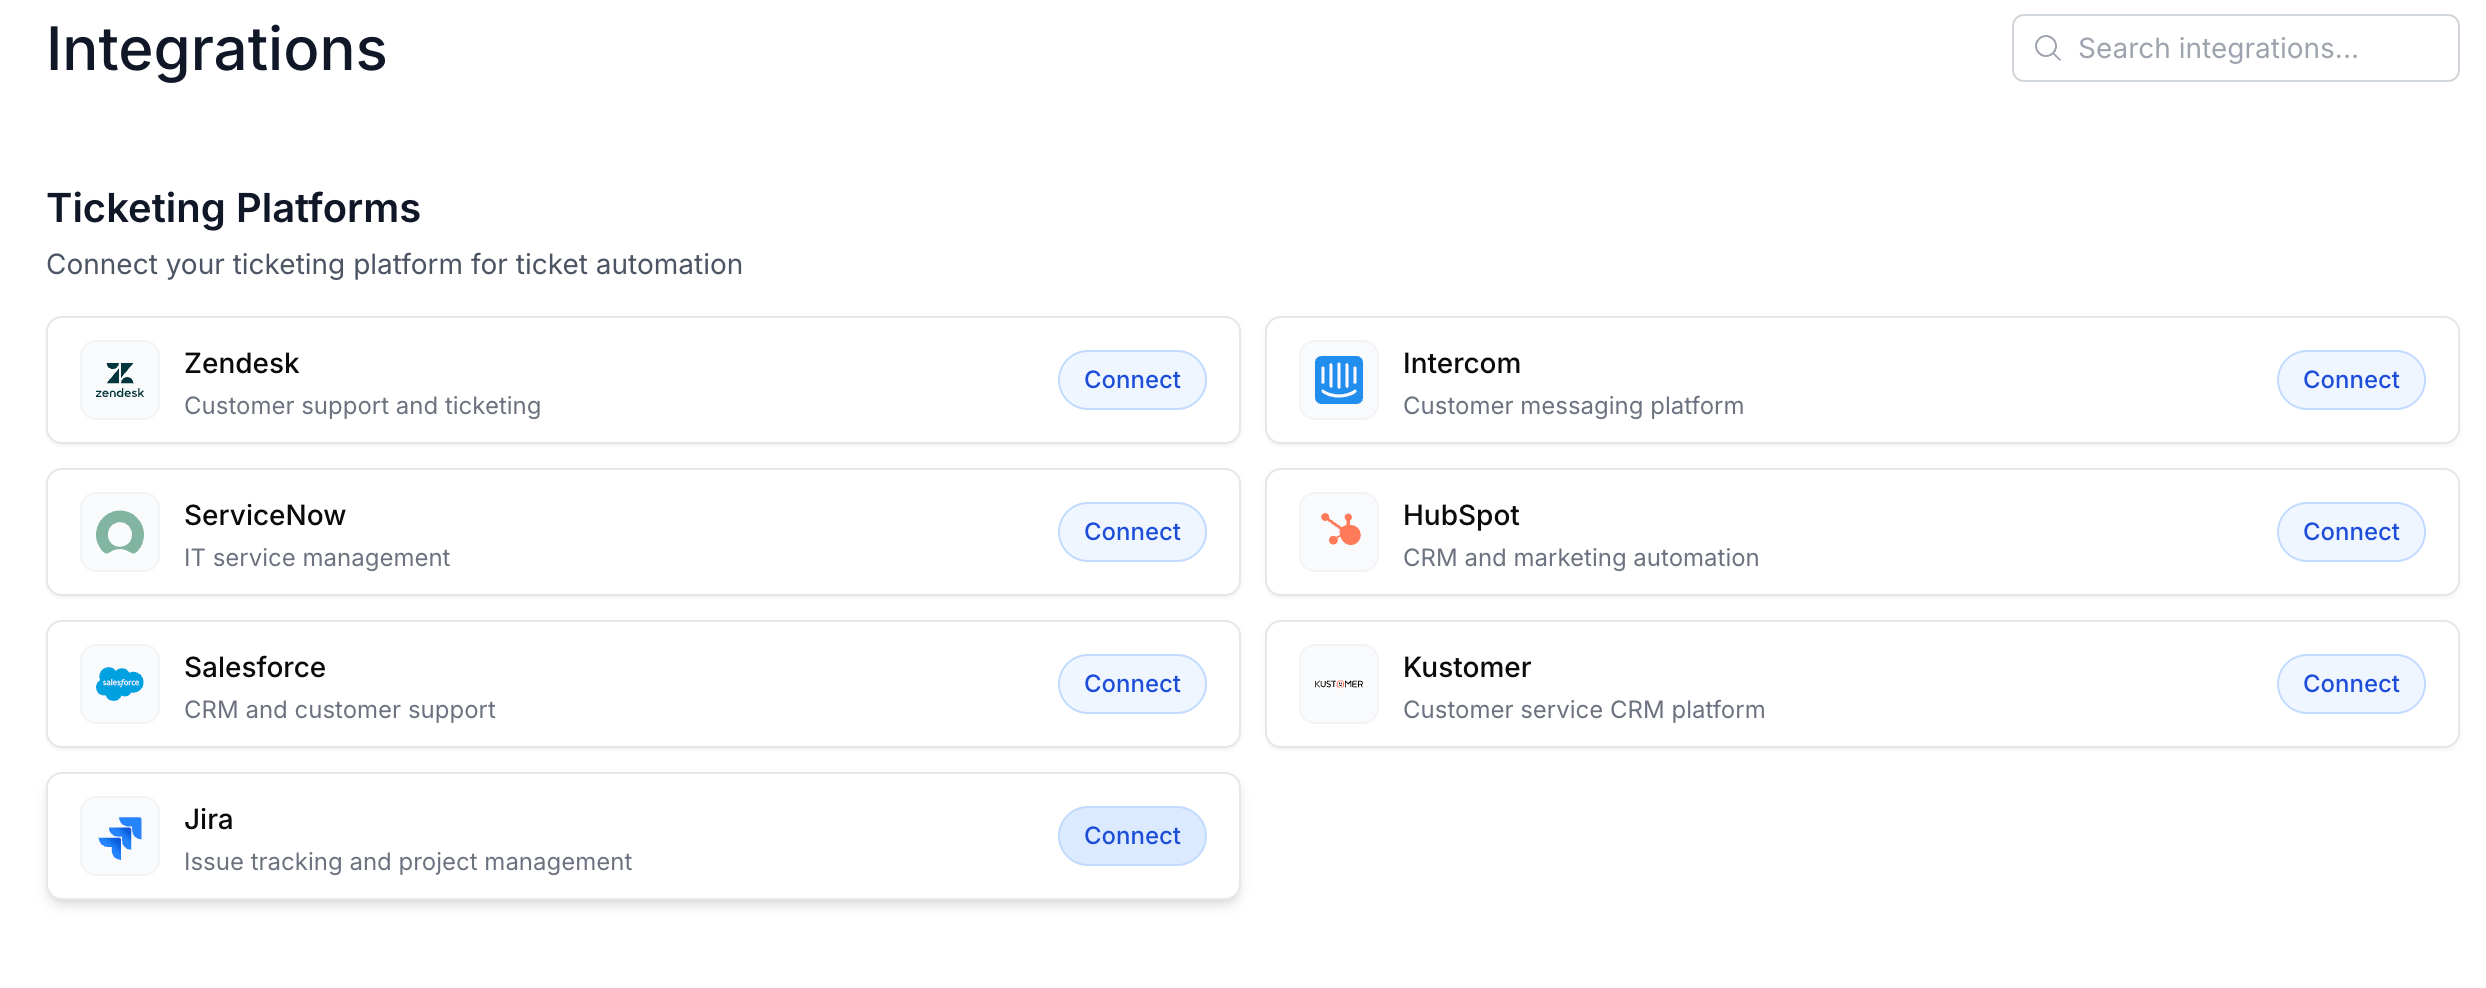
2. Find your platform under **Ticketing Platforms** and click **Connect**.
3. A secure connect window opens. Sign in to the platform and approve the permissions it asks for.
 Some platforms ask for one extra detail in that window so Champ knows which account to talk to — your Zendesk
**subdomain**, your ServiceNow **instance**, or which Jira **site** to authorize. Sign in as a user whose permissions
cover everything you want automated: the connection can only do what that account can do.
When the connection succeeds, the platform moves out of the available list into a **Connected** table showing its base
URL and the date it was connected.
Connect each platform once per workspace. Everyone on your team shares the connection — there's no need for each
person to authorize their own.
## Step 2 — Use it in a workflow
Add an **API** node to any workflow and select your platform under **Integration Connection**. Champ attaches the
credentials to every request, so you only describe the call:
1. Choose the **HTTP Method**.
2. Enter the **Path** — the connection's base URL is already prefilled, so a Zendesk call is just
`/api/v2/tickets.json`, and a Jira call is just `/rest/api/3/issue/SUP-1`.
3. Fill in headers and a body if the endpoint needs them.
The node's **View API Docs** link opens the platform's API reference so you can look up the right endpoint without
leaving the builder.
A few platforms (Kustomer, for example) route through Champ without a stored base URL. For those the node asks for a
full **URL** instead of a path — paste the whole endpoint.
## Step 3 — Sync tickets into cases
A **sync** polls the platform on a schedule and turns each new or updated ticket into a case, which then runs your case
workflow. You need a case workflow with a **ticketing** case source before you start — create one under **Workflows**
first.
1. Go to [**Integrate → Cases Sync**](https://dash.champ.ai/app/cases-sync) and open the **Data Syncs** tab.
2. Click **+ Add Sync** and fill in the form:
Which connected platform to pull from. Only platforms that support cases sync appear here.
The record to sync — Zendesk `Ticket`, Intercom `Conversation`, Jira `Issue`, Salesforce `Case`, and so on. Most
platforms offer exactly one, in which case it's fixed for you.
A name for this sync, shown in the syncs table. Defaults to the object type.
How often to poll. Defaults to 5 minutes. (Zendesk is locked to 5 — it syncs on Champ's own schedule.)
The ticketing case workflow each synced ticket runs. If the dropdown is empty, you don't have one yet.
Advanced. How far back to look on the first run, before the sync has a cursor. Defaults to 7 days on most platforms.
Advanced. How many records to pull per request. Leave the default unless you're tuning a large backfill.
3. Save, then **turn on the Enabled switch** in the syncs table. New syncs are created switched off so you can review
them before any data moves.
A sync is off until you flip the **Enabled** switch. If **Last Sync** stays "Never", that's almost always why.
The syncs table tracks each config's interval, last sync time, and how many records it pulled in the last 24 hours.
Click any row to edit it, or the trash icon to delete it. Deleting a sync stops future polling — cases it already
created stay put.
Each poll only writes when something actually changed, so a ticket that's been sitting untouched won't re-trigger its
case workflow.
## Reviewing and reconnecting
Click a connected platform on the Integrations page to open its detail page, which shows the workflow runs it triggered,
every API call workflows made through it, and which workflows are using it.
To re-authorize — after rotating credentials, changing the account, or if calls start failing with authorization errors
— click **Re-connect** on the platform and run through the connect window again. This replaces the existing
authorization; workflows and syncs pointing at the connection keep working and don't need to be rebuilt.
Some platforms ask for one extra detail in that window so Champ knows which account to talk to — your Zendesk
**subdomain**, your ServiceNow **instance**, or which Jira **site** to authorize. Sign in as a user whose permissions
cover everything you want automated: the connection can only do what that account can do.
When the connection succeeds, the platform moves out of the available list into a **Connected** table showing its base
URL and the date it was connected.
Connect each platform once per workspace. Everyone on your team shares the connection — there's no need for each
person to authorize their own.
## Step 2 — Use it in a workflow
Add an **API** node to any workflow and select your platform under **Integration Connection**. Champ attaches the
credentials to every request, so you only describe the call:
1. Choose the **HTTP Method**.
2. Enter the **Path** — the connection's base URL is already prefilled, so a Zendesk call is just
`/api/v2/tickets.json`, and a Jira call is just `/rest/api/3/issue/SUP-1`.
3. Fill in headers and a body if the endpoint needs them.
The node's **View API Docs** link opens the platform's API reference so you can look up the right endpoint without
leaving the builder.
A few platforms (Kustomer, for example) route through Champ without a stored base URL. For those the node asks for a
full **URL** instead of a path — paste the whole endpoint.
## Step 3 — Sync tickets into cases
A **sync** polls the platform on a schedule and turns each new or updated ticket into a case, which then runs your case
workflow. You need a case workflow with a **ticketing** case source before you start — create one under **Workflows**
first.
1. Go to [**Integrate → Cases Sync**](https://dash.champ.ai/app/cases-sync) and open the **Data Syncs** tab.
2. Click **+ Add Sync** and fill in the form:
Which connected platform to pull from. Only platforms that support cases sync appear here.
The record to sync — Zendesk `Ticket`, Intercom `Conversation`, Jira `Issue`, Salesforce `Case`, and so on. Most
platforms offer exactly one, in which case it's fixed for you.
A name for this sync, shown in the syncs table. Defaults to the object type.
How often to poll. Defaults to 5 minutes. (Zendesk is locked to 5 — it syncs on Champ's own schedule.)
The ticketing case workflow each synced ticket runs. If the dropdown is empty, you don't have one yet.
Advanced. How far back to look on the first run, before the sync has a cursor. Defaults to 7 days on most platforms.
Advanced. How many records to pull per request. Leave the default unless you're tuning a large backfill.
3. Save, then **turn on the Enabled switch** in the syncs table. New syncs are created switched off so you can review
them before any data moves.
A sync is off until you flip the **Enabled** switch. If **Last Sync** stays "Never", that's almost always why.
The syncs table tracks each config's interval, last sync time, and how many records it pulled in the last 24 hours.
Click any row to edit it, or the trash icon to delete it. Deleting a sync stops future polling — cases it already
created stay put.
Each poll only writes when something actually changed, so a ticket that's been sitting untouched won't re-trigger its
case workflow.
## Reviewing and reconnecting
Click a connected platform on the Integrations page to open its detail page, which shows the workflow runs it triggered,
every API call workflows made through it, and which workflows are using it.
To re-authorize — after rotating credentials, changing the account, or if calls start failing with authorization errors
— click **Re-connect** on the platform and run through the connect window again. This replaces the existing
authorization; workflows and syncs pointing at the connection keep working and don't need to be rebuilt.